
R loves his Aunt Janice’s homemade noodles so when I came across a recipe on Facebook I shared it thinking I would give making them a whirl. Now, I tried following the original recipe I came across and I have no idea what I did wrong but wow. What I ended up with was a tough ball of dough that still hadn’t had all of the ingredients kneaded in. I wish I would have thought to take a picture because I could barely make an indention in it with my finger LOL. Deemed a disaster I 86’d it (threw it away) and started over. For the most part I followed the ingredients of the original recipe (I used milk instead of ice water), adjusted the amounts a little to work better for me and mixed them together in a slightly different way.
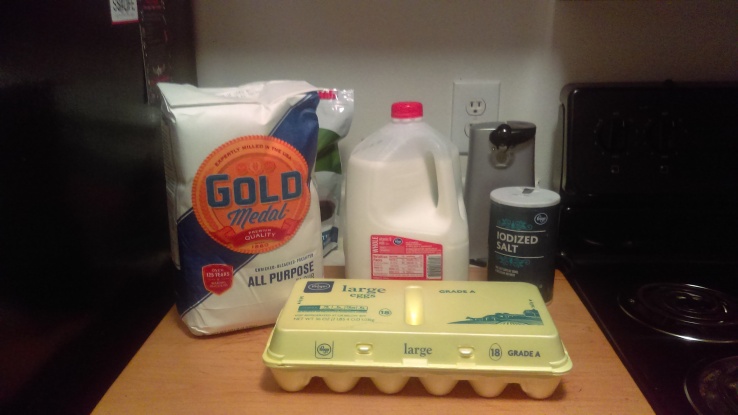
Ingredients:
3 Eggs
(3) 1/2 eggs shells of Milk (measure this using 1/2 of one of the egg shells you just cracked)
1/4 tsp. Salt
3 c. Flour
1 1/2 tsp baking powder (optional) -this will give you a “thicker” noodle
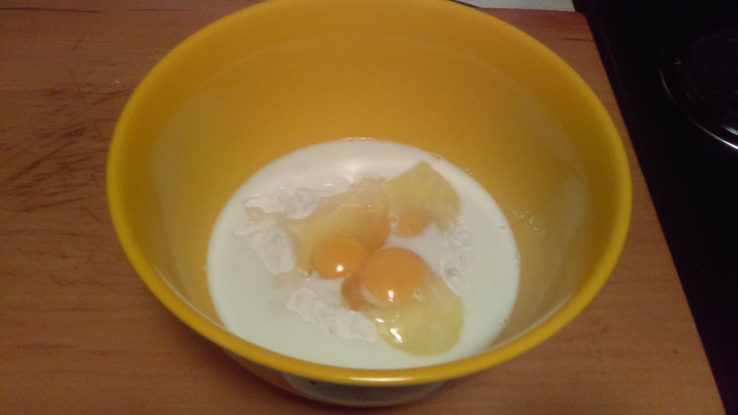
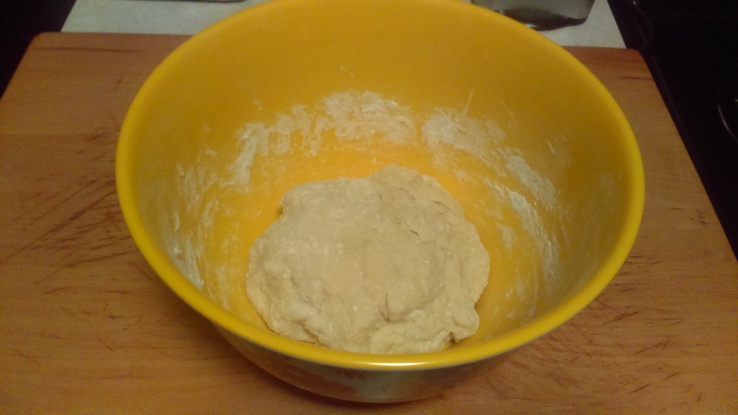
In a bowl, measure out your flour. Make a well in the middle of your flour and add in the eggs, milk and salt. Using your fingers whip the wet ingredients while pulling the flour into the mixture. Once it is mixed knead the dough until you have a nice noodle ball 🙂
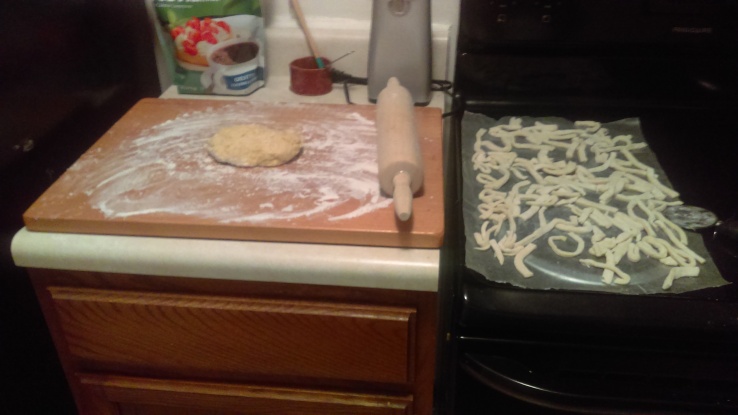
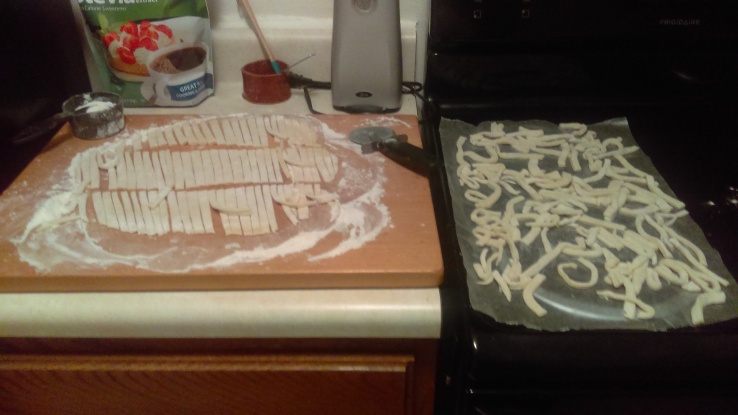
Flour a flat surface and roll out your dough until it is thin. The original recipe said roll it until it was an 1/8 of an inch thick but I rolled it out until it felt thin enough to me. I also cut my dough in half and rolled it out in two batches as my counter space is very limited. Once you have your dough rolled out use a pizza cutter (or knife) to cut it into thin strips. You can keep them long but I cut mine into shorter strips . Lightly toss your noodles with the flour that remains on your surface and spread your noodles out on a covered surface to dry out a little bit. I put sheets of wax paper on top of my stove to accomplish this.

The original recipe says you can store your noodles in the fridge 2-3 days or in the freezer 1-2 months. I will be using all of these but have plans to make more soon that I can freeze for later use. When I do this I am going to slide the wax paper onto a baking sheet, cover it and sit it in the freezer for a while so the noodles can freeze up a little bit before I put them into a gallon zip lock bag. This will keep the noodles from freezing in chunks.
For the noodles I am going to cook I will be adding them into the following….

2 Chicken breast boiled and shredded
1/2 onion, diced
2 stalks of celery, diced
1 carrot, diced
2 cups mushrooms, sliced
2 cartons Chicken broth
Water you boiled the chicken in (add 2-3 chicken bouillon cubes if you like a strong chicken broth flavor)
In the pan of left over water add 3 bouillon cubes (optional), the broth, carrots, celery and onion. Cook on medium heat until carrots are cooked through. Add in the chicken and mushrooms. Stir and let cook for another 5 minutes. At this point turn up the heat to medium high until the broth is lightly boiling and add in the noodles. Cook noodles for 7 minutes. Season to taste.

Final thoughts and future adjustments:


- The adjustments I made to the original recipe made for a nice dough. Not to loose yet not tough. I will definitely be making more of these noodles up and freezing them. They will be a nice freezer staple.
- I liked the flavor of the noodles but I will be looking in to how to make them more fluffy. They have a very dense texture but I would like to see if I can get them between a dense noodle and a fluffy dumpling 🙂
- I think playing around with adding spices to these noodles could be fun! Or even adding in veggies somehow.
- I put all of the noodles I made into my soup. As much as I liked it there was just to many. Next time I will only add half so the noodles do not overpower the other ingredients.
I had a lot of fun making these and didn’t make nearly the mess that I thought I would!
Cooking is love made visible.
-quotegram


